Experiment Alien
I saw Prometheus a few times and i really enjoyed the effects. But something i wanted to try was the different moods the illumination on the movie has.
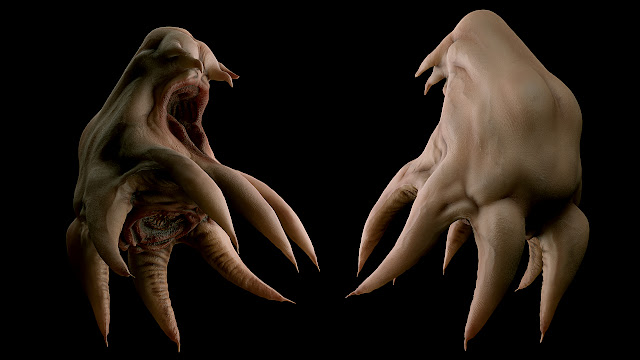
First i quickly modeled my own version of a trilobite from the movie in Sculptris, actually it doesn't look like the one on the movie at all other than it has tentacles.
The model had about 2.5 million triangles, in max it ran really good static, but in motion it was not usable.

I decimated the model using ProOptimize tool that comes with max, it really makes wonders for heavy models.

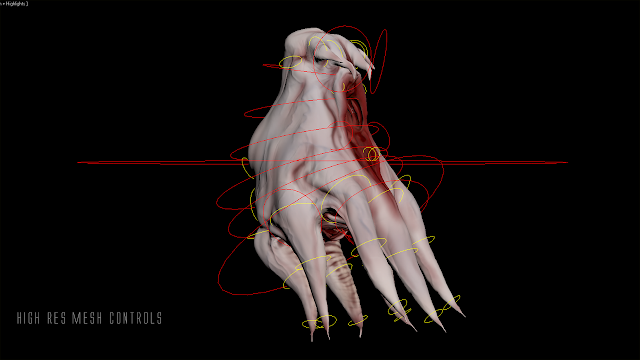
With that lower res model i was able to skin it a bit easier. and also it had a better payback for animation, not real time yet but at least i could see what happened when i moved it. Also that lighter model helped move the heavy one by using Skin Wrap modifier. The high res model was only used at render time.

I used standard max bones system. By using max's bone fins i was able to just use the default skin modifier weight solution and only adjust a few envelopes. Painting skin weights would have been a nightmare. Skin modifier really works very well when fins are set right to mimic the shape of the character.

Skin wrap defaults also worked very good on the high res mesh. Since ProOptimize maintained really nice details, both models moved identical.

Here is a turn table animation of the character i did to test lights and materials.
Now the illumination part for this i already covered in this article Big Fat Bass Backdrop, same tools applied to this animation. I only changed a few HDR's and i got a lot of different moods in ambient lighting. Here are the ones used in the turntable for example.
Reflections HDR.
Background HDR.
Ambient HDR.
I tried to mimic the most relevant moods i liked on the movie in a way it rendered fast because it´s just a simple test. Used Mental Ray with mr Sky Portal, regular lights and Ambient Occlusion for ambient fill with the Ambient HDR plugged in the bright Color. No Final Gather.
I tried to achieve most of the look directly from the render.
Just a few color balance touchups in after effects. Depth of field, flares, grading, etc... done in post too. All scene below used the same light schemes but with different HDR's and light placements.
It was a fun little test to work on. Thanks for watching.


Great fun experiment! Thanks for sharing the breakdown.
ReplyDeleteNo problem Cary, thanks. And i really liked your work!
DeleteGreat experiment, really nice lighting work!
ReplyDeleteThanks Pete. Really cool blog you have, followed!
DeleteHi Jorge, nice work there. I want to ask a few question :)
ReplyDeleteWhere did you put the HDRI for the reflection, background and ambient?
As I only know to put HDR in the environment slot.
Thank you
Hello Ryan,
DeleteI put an Environment/Background Switcher Shader on the Environment Slot and inside that Shader i connect The Full detail HDR in the Reflection and the MidBlur one on the Background. That way i see the Full HDR only on reflectivity and the other on the back. The Ambient HDR is a map i generated from the HighRes HDR with this application http://www.hdrlabs.com/picturenaut/ with the Diffuse SH plugin it has. it makes a really nice blurred image that can be spherically mapped inside the Bright Slot of the Ambient Occlusion Shader inside the projector map on the omni light set as Ambient. As shown here http://jorgebaldeoncg.blogspot.com/2012/05/britney-spears-big-fat-bass-backdrop.html
Hope it helps.
Thanks a lot Jorge, it's really helpfull :)
DeleteNow I just need to make simple scene and try this out.
Thank you very much for your explanation